BIGTREETECH SKR Mini E3 V3.0
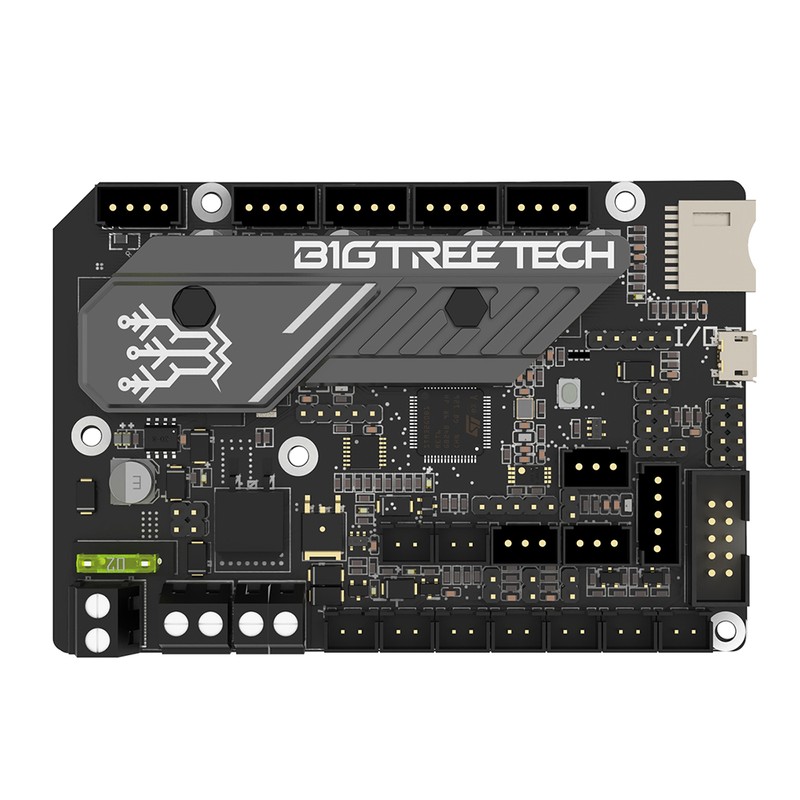
The BTT SKR Mini E3 V3 is a drop-in mainboard replacement for the Creality Ender 3 series, featuring an STM32G0B1 MCU and 4 pre-soldered TMC2209 stepper drivers. At $45, it transforms a stock Ender 3 into a silent, Klipper-capable printer with zero rewiring and a direct board swap.
The easiest Klipper upgrade for Ender 3 owners — drop in, flash, print.
Where to Buy
Pros
- 4× TMC2209 drivers pre-soldered — no driver modules to buy or install
- Drop-in Ender 3/Pro/V2 replacement with matching mounting holes and connectors
- Silent operation via TMC2209 StealthChop — eliminates stepper motor whine
- STM32G0B1 runs Klipper or Marlin with USB connection to any host
Cons
- Only 4 stepper drivers — cannot add a second Z motor or second extruder
- TMC2209 drivers are soldered, not swappable — no upgrading to TMC5160
- No CAN bus header — toolhead boards require USB passthrough instead
- Limited to 24V operation — no high-voltage stepper support
Drop-In Compatibility
The SKR Mini E3 V3's primary value proposition is zero-friction installation. BTT designed the board with the exact same mounting hole pattern, stepper connector pinout, and endstop connector layout as the Creality 4.2.x boards that ship in the Ender 3, Ender 3 Pro, and Ender 3 V2. You remove the stock board (4 screws), place the SKR Mini E3 in the same position, and reconnect every cable to the matching header. No re-crimping connectors, no pin swapping, no adapter boards. The entire swap takes 15-30 minutes if you have a screwdriver and the YouTube tutorial running on your phone.
The STM32G0B1 MCU at 64MHz supports both Klipper and Marlin firmware. For Klipper, connect a Raspberry Pi (any model with USB) and flash the pre-built firmware binary from BTT's GitHub repository. For Marlin, the board runs standalone with the stock Ender 3 LCD — no host computer required. Most users choosing this board are specifically upgrading to Klipper, where the TMC2209 drivers enable sensorless homing (eliminating mechanical endstop switches) and the USB connection provides the high-speed Klipper host link.
Compatibility extends to the stock LCD connector. The EXP1/EXP2 headers match the Ender 3's stock display, so you can keep using the original rotary knob LCD with Marlin. Under Klipper, most users replace the LCD with the Mainsail web interface accessed from a phone or laptop, but the option to keep the stock display during transition is valuable for builders who want to verify the board works before committing to Klipper.
TMC2209 Driver Performance
The four pre-soldered TMC2209 drivers operate in UART mode, giving Klipper full runtime control over motor current, microstepping, and StealthChop/SpreadCycle switching. In StealthChop mode, the drivers use a voltage-mode chopper that virtually eliminates the audible stepper motor whine characteristic of stock A4988 or TMC2208 drivers — the same technology that makes high-end laser printers nearly silent during carriage movement.
Each TMC2209 supports up to 2.0A RMS (2.8A peak) per phase, which is more than adequate for the NEMA17 steppers used in the Ender 3 (typically run at 0.6-0.9A for XY and 0.8-1.0A for the extruder). StallGuard4 enables sensorless homing, eliminating the mechanical endstop switches on X and Y axes. This reduces wire count and removes a potential failure point — mechanical microswitches wear out, StallGuard does not. Z-axis sensorless homing is possible but not recommended because the weight of the X-axis gantry on a bed-slinger makes stall detection less reliable.
The drivers also support 256 microstepping interpolation from any base microstepping setting, producing smoother motion at no computational cost to the MCU. At the default 16 microsteps, the TMC2209 internally interpolates to 256 microsteps, reducing vibration and surface artifacts on printed parts. This interpolation is one reason why Ender 3 owners report visibly smoother prints after swapping to the SKR Mini E3 V3 — the improvement is not just noise reduction but actual print quality from reduced stepper vibration.
Klipper Upgrade Path
The SKR Mini E3 V3 is most commonly paired with a Raspberry Pi running Klipper, which unlocks features that transform the Ender 3's print quality. Input shaping uses accelerometer data (from an ADXL345 sensor temporarily clipped to the toolhead) to calculate and cancel resonance frequencies, eliminating the ghosting/ringing artifacts visible on fast prints. Pressure advance compensates for extruder lag during acceleration and deceleration, producing sharper corners and cleaner start/stop transitions. These two features alone can improve an Ender 3's output quality to rival printers costing 3-4× more.
The typical upgrade path after installing the SKR Mini E3 V3: flash Klipper, run input shaper calibration (one-time 10-minute process), tune pressure advance with a test print (30 minutes), then calibrate esteps and flow rate. Total setup time from board swap to calibrated Klipper printing is about 3-4 hours, spread across an afternoon. The Klipper configuration file for the Ender 3 + SKR Mini E3 V3 is one of the most widely shared configs in the community — search "Ender 3 SKR Mini E3 V3 Klipper config" and multiple proven configs are available as starting points.
One limitation to consider: the SKR Mini E3 V3's 4 driver slots are fixed. If you later want to add a second Z motor for Z-tilt adjustment, add a second extruder for multi-material, or upgrade to a CAN bus toolhead, you will need a board with more drivers. The Octopus V1.1 with 8 slots and CAN bus is the natural next step if your Ender 3 upgrade ambitions grow beyond what 4 drivers can support.
Limitations and Upgrade Path
The SKR Mini E3 V3's 4 driver slots are its ceiling, and understanding where that ceiling hits helps you plan purchases wisely. Three common upgrade ambitions are impossible with this board.
First, independent dual Z motors for Z-tilt adjustment. Z-tilt uses two independently controlled Z steppers to automatically level the X gantry — essential for consistent first layers on bed-slingers with sagging gantries. The SKR Mini E3's four drivers (X, Y, Z, E) leave no slot for a second Z stepper. You can wire two Z motors in parallel on the single Z driver, and many Ender 3 owners do this successfully, but parallel wiring means both motors always receive identical step signals. There is no independent adjustment — if one side of the gantry is 0.1mm lower, you are shimming it manually instead of letting Klipper's Z_TILT_ADJUST macro correct it automatically.
Second, CAN bus toolheads like the BTT EBB36. The SKR Mini E3 has no CAN transceiver or CAN header. You can connect a USB-to-CAN adapter (like the BTT U2C) via USB passthrough, but this adds another board, another cable, and another potential failure point — negating the simplicity that made the SKR Mini E3 attractive in the first place.
Third, dual extruders for multi-material printing. With X, Y, Z, and E occupying all four driver slots, there is physically no way to add a second extruder motor. No firmware workaround exists for a hardware limitation.
The natural upgrade path leads to the BTT Octopus V1.1, which solves all three limitations with 8 driver slots and a CAN bus header. The catch is that upgrading requires complete rewiring — the Octopus uses different connector types and a larger form factor that does not fit the Ender 3's stock electronics bay without modifications. Planning ahead matters: if you know you want Z-tilt or CAN toolheads within the next year, starting with the Octopus avoids buying the same stepper motors, wiring harnesses, and crimped connectors twice. The SKR Mini E3 V3 is the right board when 4 drivers are genuinely enough — and for a stock Ender 3 running Klipper, they are.
Common Gotchas
Sensorless homing on the Z axis is unreliable on the Ender 3 because the weight of the X gantry varies with belt tension and axis friction. Use sensorless homing for X and Y only. Keep the physical Z endstop switch or use a BLTouch/CR Touch for Z.
The stock Ender 3 LCD requires Marlin firmware. Under Klipper, the stock LCD does not work — Klipper uses Mainsail or Fluidd via web browser instead. Some users are surprised when their display goes blank after flashing Klipper. This is expected, not a bug.
The TMC2209 drivers are permanently soldered. If a driver fails (rare but possible from a short circuit or ESD), you cannot replace just the driver — the entire board must be replaced. Handle the board with ESD precautions during installation.
USB-C port is for data only — you cannot power the board from USB-C. The board requires 24V from the printer's PSU. The USB-C connects to the Klipper host (Raspberry Pi) for serial communication only.
Full Specifications
Processor
| Specification | Value |
|---|---|
| Architecture | ARM Cortex-M0+ [1] |
| CPU Cores | 1 [1] |
| Clock Speed | 64 MHz [1] |
I/O & Interfaces
| Specification | Value |
|---|---|
| Stepper Drivers | 4 (TMC2209 integrated) [2] |
| Driver Type | TMC2209 UART (onboard) [2] |
| Thermistor Inputs | 2 [2] |
| Heater Outputs | 2 (hotend + bed) [2] |
| Fan Ports | 3 (PWM controllable) [2] |
| Probe Port | BLTouch, MicroProbe, Eddy [2] |
| USB | Micro USB-B [2] |
| SD Card | MicroSD + USB-C (SPI) [2] |
Power
| Specification | Value |
|---|---|
| Input Voltage | 12-24 V [1] |
Physical
| Specification | Value |
|---|---|
| Dimensions | 101 x 71 mm [2] |
| Form Factor | Ender 3 drop-in replacement [2] |
Who Should Buy This
The SKR Mini E3 V3 matches the Ender 3's mounting holes, connector pinouts, and form factor exactly. Swap boards, flash Klipper, connect a Raspberry Pi via USB. Total upgrade time is under an hour.
The pre-soldered TMC2209 drivers in StealthChop mode eliminate the stepper motor whine that makes stock Ender 3 boards audible across a room. The loudest remaining sound is the fan.
Voron 2.4 needs 6+ stepper drivers. The SKR Mini E3 only has 4. The BTT Octopus V1.1 with 8 driver slots is the standard Voron mainboard.
Better alternative: BIGTREETECH Octopus V1.1
With only 4 drivers (X, Y, Z, E), there is no slot for a second extruder. The Octopus V1.1 or Manta M8P with 8 slots supports dual extrusion.
Better alternative: BIGTREETECH Octopus V1.1
If configuring firmware and wiring stepper drivers feels like a lot, the Bambu Lab A1 Mini prints out of the box for under $200.
Better alternative: Bambu Lab A1 Mini
Ecosystem & Community
The SKR Mini E3 V3 bridges the Ender 3 community and the Klipper ecosystem. Drop-in compatible with stock Ender 3 wiring, it is the most popular first Klipper board. Supported by both Marlin and Klipper with extensive community documentation.
Compatible Software
What to Build First
Drop-in replace the stock Ender 3 board with the SKR Mini E3 V3 for silent TMC2209 steppers, then flash Klipper for input shaping and pressure advance. Zero rewiring, dramatic quality improvement.
View tutorial →Must-Have Accessories
Video Reviews & Tutorials
Tutorials & Resources
- BTT SKR Mini E3 V3 WikiOfficial pinout, wiring diagrams, and firmware binariesdocs
- Klipper FirmwareOpen-source firmware with SKR Mini E3 V3 board definition and sample configsgithub
Frequently Asked Questions
Is the SKR Mini E3 V3 compatible with the Ender 3 V2?
Yes. The SKR Mini E3 V3 is a drop-in replacement for the Ender 3, Ender 3 Pro, and Ender 3 V2. Mounting holes, stepper connectors, and endstop headers all match. The stock LCD connector also works with Marlin firmware.
Can I run Klipper on the SKR Mini E3 V3?
Yes. Flash the pre-built Klipper firmware via SD card, connect a Raspberry Pi via USB, and configure using the community Ender 3 Klipper config. The TMC2209 drivers support sensorless homing and StealthChop via UART from Klipper.
Why are the TMC2209 drivers soldered instead of plug-in?
Soldered drivers reduce board size to match the Ender 3's compact electronics bay. Plug-in drivers add height and require a larger PCB. The trade-off is that you cannot swap to different drivers like TMC5160.
Can I add a BLTouch or CR Touch to the SKR Mini E3 V3?
Yes. The board has a dedicated probe header (BLTouch/CR Touch compatible) with 5V power, ground, signal, and servo control pins. No adapter board needed.
Does the SKR Mini E3 V3 support dual Z motors?
No. With only 4 stepper drivers (X, Y, Z, E), there is no spare slot for a second Z motor. You can wire two Z motors in parallel on the single Z driver, but they cannot be independently controlled for Z-tilt adjustment.
What is the difference between the SKR Mini E3 V3 and V2?
The V3 upgrades to the STM32G0B1 MCU (from STM32F103 on V2), which has more flash and RAM for Klipper firmware. The TMC2209 drivers remain the same. The V3 also improves the USB-C connector and adds better ESD protection.
Should I get the SKR Mini E3 V3 or just buy a Bambu Lab printer?
If you enjoy tinkering and want to learn Klipper, the SKR Mini E3 V3 at $45 plus a Pi is a great upgrade for an existing Ender 3. If you want reliable printing without configuration, the Bambu Lab A1 Mini at $199 prints better out of the box than any upgraded Ender 3.